17 Mar Starting Seeds Indoors – What Went Wrong?
This article courtesy of Barbara Pleasant writing for Grow Veg can answer many a growing seeds question covering advice concerning common problems and how to avoid them.
Last night I dug through the recycling bin to find empty cans I could use to raise my little flats of cabbage and kale seedlings closer to the florescent light fixture meant to mimic the sun. Ideally, there should be no more than 2 inches (5 cm) between the bulbs and the newly emerged sprouts, and because my light would go no lower, I elevated the seedlings with a pedestal made from dog food cans.
This simple strategy was unknown to me as a beginning seed starter, and I saw my fair share of failures. Many of my seedlings fell over and died, while others suffered from crowding because I lacked the courage to thin them. Some malfunctions were not my fault, though it became my responsibility to set things right. In many ways, starting seeds indoors is like running a day care center. You do what you’re supposed to do to take care of the little darlings, and then you must be ready to intervene when troubles arise.
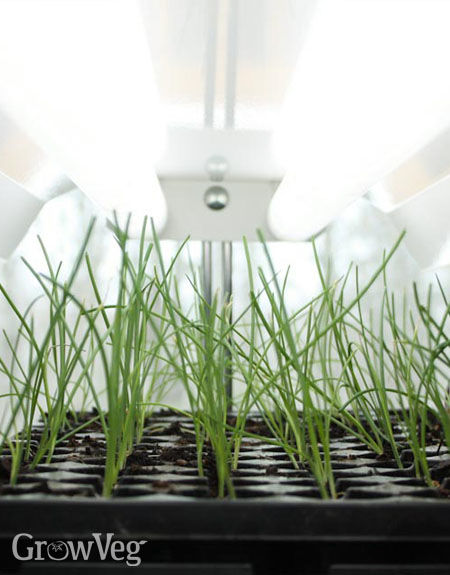
Stretched Out Seedlings
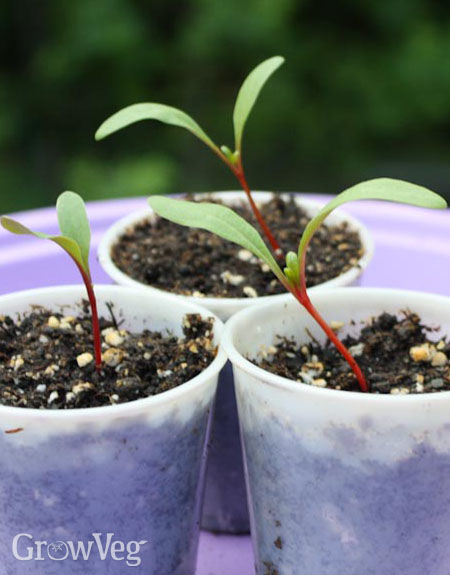
Veggie seedlings started indoors hardly ever get as much light as they would like, even when grown beneath pairs of bright florescent bulbs. I monitor this situation closely and raise up seedlings or lower lights to keep seedlings from stretching toward the light, but they do it anyway. Beyond doing your best to satisfy your seedlings’ hunger for light, you should anticipate seeing a short section of exposed basal stem on seedlings started indoors, as shown in the red chard seedlings at right. As long as the basal stem is never bruised or bent, slightly stretched seedlings will grow just fine if the stem is covered with soil when the seedlings are transplanted.
With my early efforts, the seedlings were so stretched out that they often fell over. This is not a terminal event unless the stem suffers a darkened bruise at the soil line. When the tender tissues on the basal stem are injured, the bruise often becomes a point of entry for fungi that cause the seedling to rot. The easiest way to change this outcome is to sprinkle dry seed starting mix around the base of the tilting seedling to help hold it aloft, perhaps propped up with a toothpick or two. Never touch the basal stem with your fingers; instead use the little seedling leaves as handles. If one breaks off it’s no big deal, because plants have little use for their seedling leaves once the true leaves begin to appear.
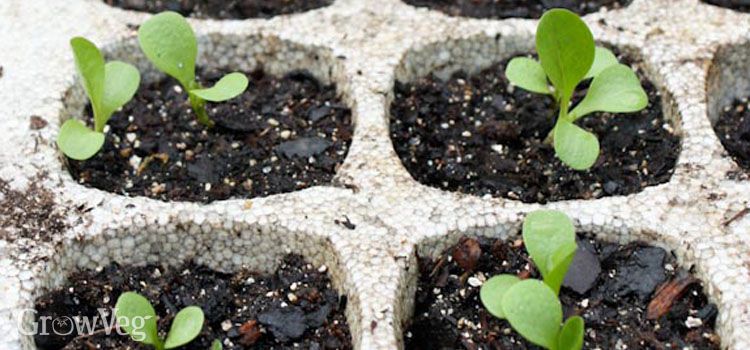
Too Many Seedlings
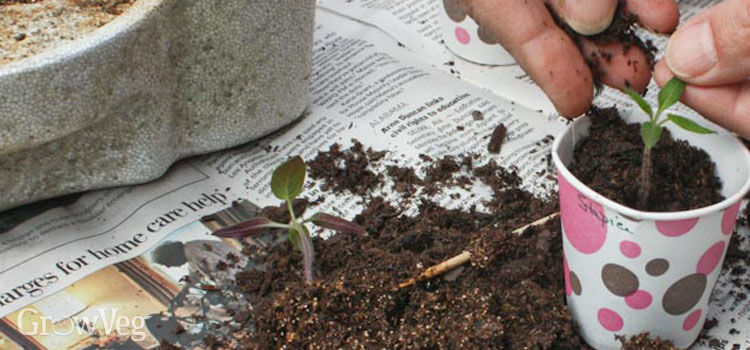
To a new gardener, every germinated seed is a miracle, and the thought of killing any of them feels wrong. But crowded seedlings rarely grow into healthy, full size plants, so they must be thinned or separated and transplanted – an operation often called pricking out. In my experience, it is better to use a small pair of scissors to snip out excess seedlings of lettuce, celery and most leafy greens when starting seeds indoors, because separating the fibrous roots leads to serious setbacks in the plants’ growth. In comparison, onions and tomatoes seem to enjoy the pricking out process, and show new growth immediately after being moved to roomier quarters.
Stuck Seedcoats
The seedcoats of many seeds contain substances that become sticky when wet – a characteristic that helps seeds find firm anchor among soil particles. When sown outdoors in gritty soil, the seedcoat is scraped away as the seedling emerges, but sometimes the mechanics don’t work perfectly when starting seeds indoors in seed starting mixes. Instead you see seedlings with the tips of their seedling leaves clamped together with a seedcoat that won’t let go. Sometimes you can get the stuck seedcoat to soften by misting it with water, or you may resort to rescuing the chick by removing it with tweezers or your fingers. Just be careful not to pull on the seedling, which can do more harm than good.
Bad Soil and Good Water
When you think you’ve done everything right and your seedlings just sit there, refusing to grow and looking sick and spindly, they may be suffering from substandard soil. Although it has not happened often, several times I have purchased bags of potting soil that would not grow anything and had to be discarded. When a whole flat of seedlings fails to grow properly, I transplant them into fresh potting soil as quickly as possible, and usually see a happy response within a day.
Watering can be a challenge when starting seeds indoors, and I think the best way to judge how much moisture is in a seedling flat or container is to lift it up to check its weight. Those that feel light are in need of water, while saturated containers feel heavy. Most tap water is fine for seedlings, though switching to bottled spring may be helpful if you have a household water-softening system. The best seedling-growing setups include a waterproof tray so seedlings can be watered from the top and from the bottom. Alternating top and bottom watering gives the soil at the surface a chance to dry out, which limits opportunities for the worst diseases of seedlings started indoors.